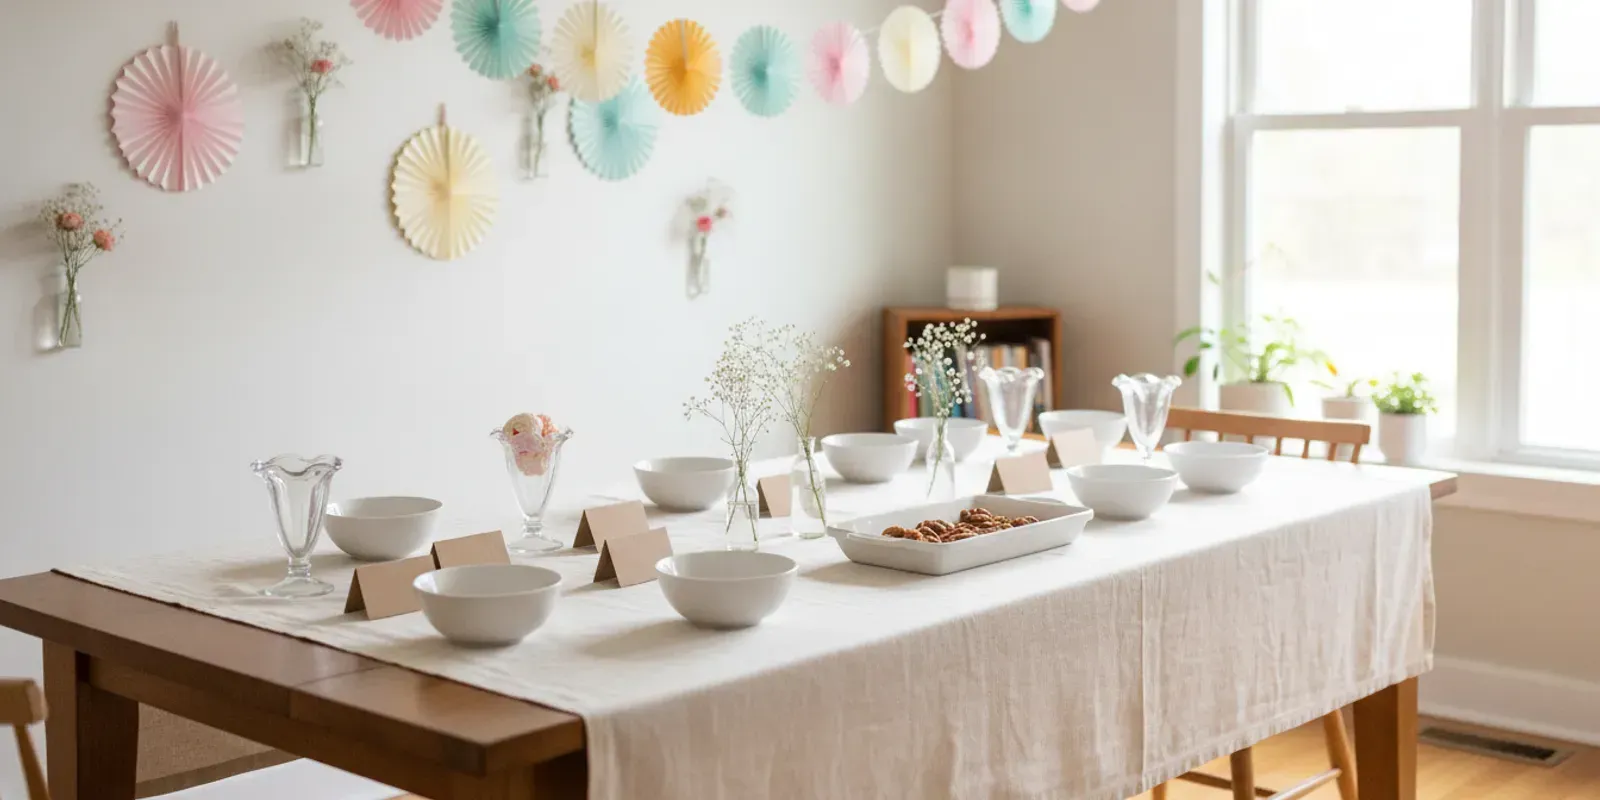
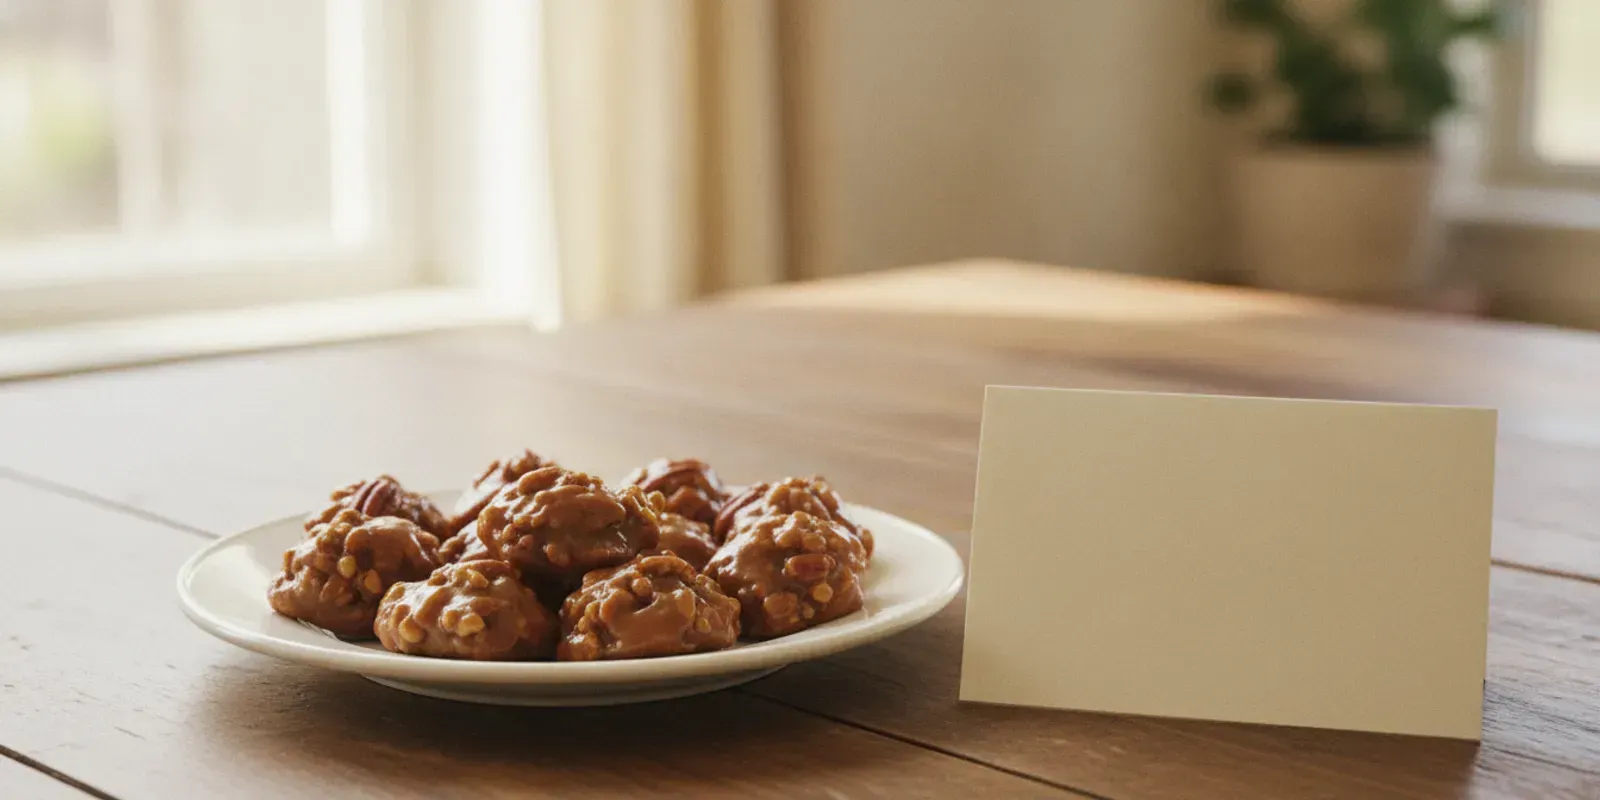
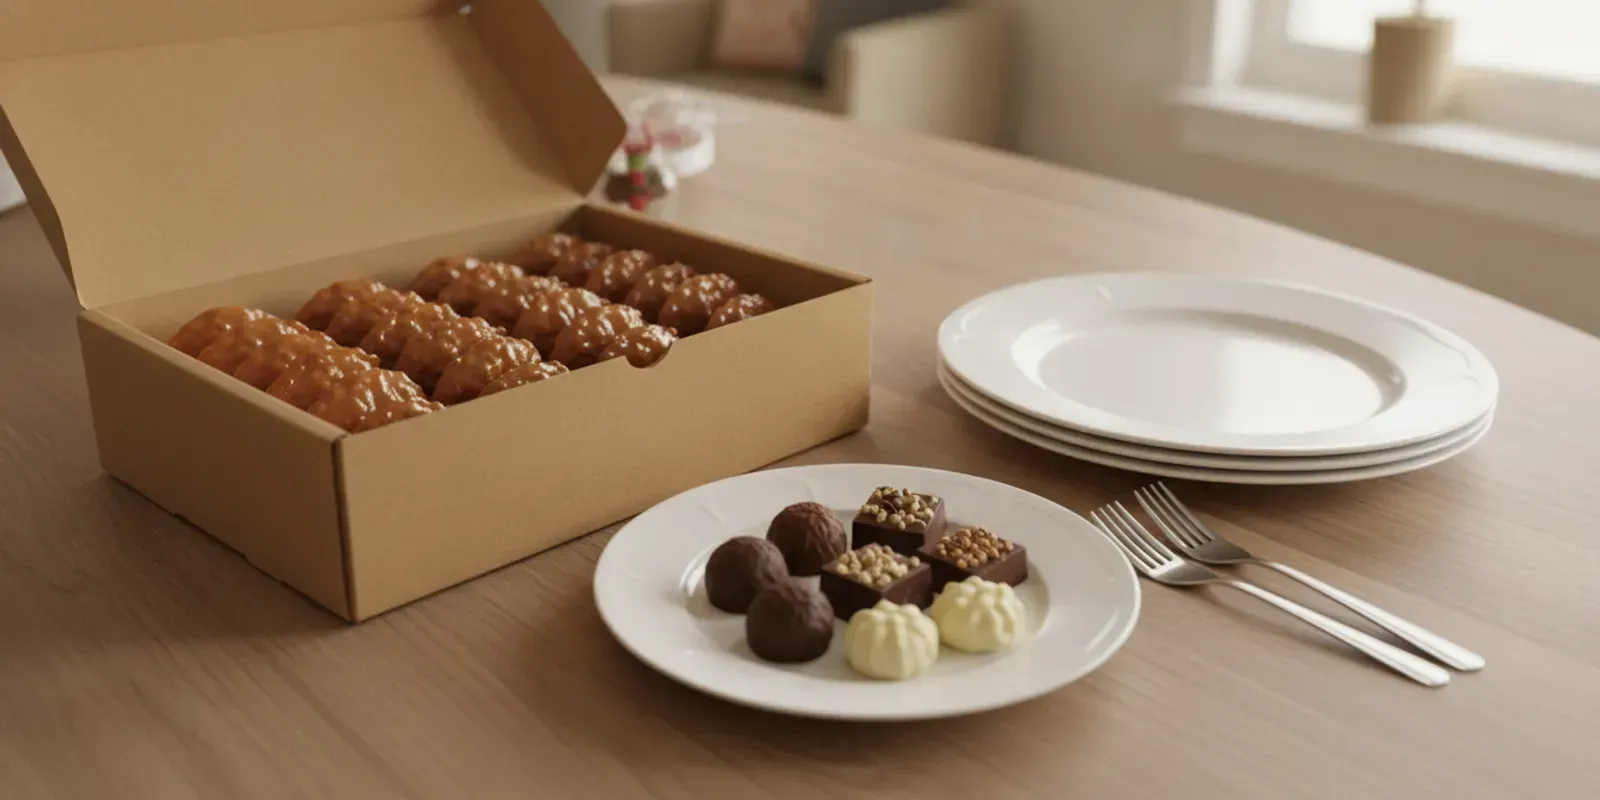
Good ice cream party decorations make a gathering feel special without making it harder to serve dessert. Start with one color palette, keep the table easy to reach, and use labels guests can read at a glance. These simple choices work for a birthday, family get-together, or summer celebration—and they leave room for the ice cream to be the star.
What makes ice cream party decorations feel pulled together?
A cohesive setup usually needs only a few repeated details. Pick two or three colors, repeat them in the table covering and a couple of accents, then let the serving dishes and labels do the practical work. You do not need to match every napkin, plate, balloon, and ribbon exactly. A consistent palette gives the room a finished look without turning the planning into a second job.
Think about where guests will first see the celebration. A small cluster of decorations at the entry, a simple backdrop behind the dessert table, or a garland over the table can establish the theme. Keep the biggest visual detail in one place. If every surface has a sign or centerpiece, the room can feel busy and guests may have less space to set down a plate.
Let the ice cream and other treats remain visually clear. Choose decorations that frame the serving area rather than cover it. A tidy arrangement of containers, readable labels, and enough room for guests to move will look intentional in person and in photos.
Which colors and materials work best for an ice cream theme?
Pastels are an easy starting point: pale pink, mint, soft blue, butter yellow, and vanilla cream suggest a classic ice cream shop. For a more grown-up gathering, use a restrained palette such as cream, peach, and sage, or navy, white, and a single bright accent. Choose a base color, a secondary color, and one small pop of contrast. Repeating those colors in three or four places is usually enough.
Use lightweight, low-fuss materials that are simple to place and remove. Paper garlands, cardstock signs, washable table coverings, reusable trays, and fabric napkins can all help shape the look. If the party is outdoors, choose decorations that can be secured against a breeze. Keep loose paper, ribbons, and small ornaments away from food and serving tools. Before buying anything, take stock of what you already own: a plain runner, colored napkins, or a few matching bowls may provide enough of the palette. Add just one or two new items if the room needs a focal point. This keeps the design consistent and prevents extra decor from taking over storage after the event.
Balance color with plain surfaces. A patterned tablecloth can be the main feature, while solid-color plates and simple labels keep the display readable. Alternatively, use a neutral cloth and add color through napkins, garlands, or small table accents. Before guests arrive, step back and check whether the display looks clear from the doorway, not just from directly above.
How should you style the serving table?
Start with the table’s job: it needs to hold the items guests will use, provide room to serve, and stay easy to wipe down. Add the decorative layer around those needs, not the other way around. A washable cloth or runner can define the table. Leave the center and front edge open enough for serving dishes and hands. Keep tall decorations at the back or off the table so they do not block anyone’s view.
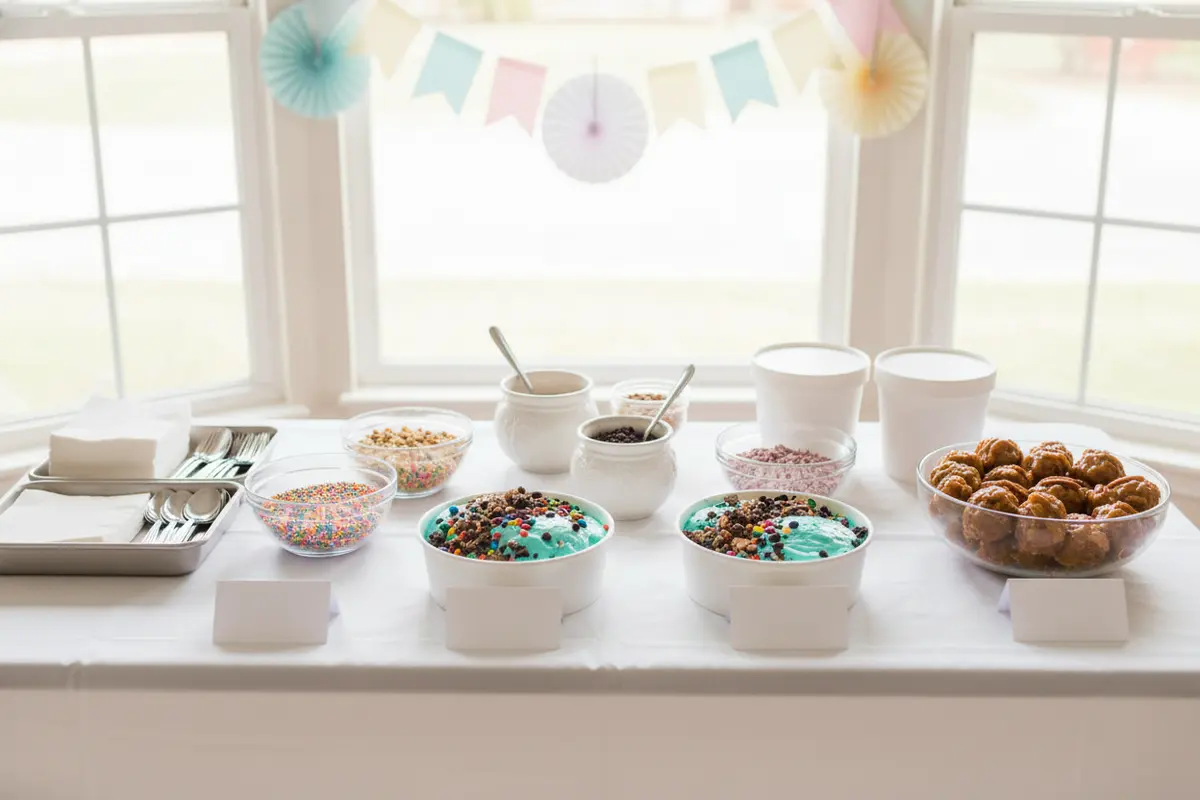
Arrange items in the order guests will reach for them. Put plates or bowls at the beginning of the route, followed by the serving area and then spoons, napkins, and a place to set finished dishes. This is a layout principle, not a full menu plan: the goal is to make the table intuitive and prevent people from reaching across one another. If you are serving several groups at once, use two sides of a long table only when both sides have clear access.
Use trays to group small accessories together. A tray for napkins and spoons keeps them from drifting into the serving space. A separate, stable spot for labels makes the choices easier to scan. Keep decorations such as vases or paper fans outside the route where people are passing dishes. For inspiration on the flavors and treats that may guide a color palette, browse the Pecan Jacks ice cream selection and pralines; check details and availability for your location rather than assuming every item is offered everywhere.
One well-placed focal point is often enough. You might use a small garland behind the table, a neat arrangement of paper fans on the wall, or a framed celebration sign. Avoid putting anything directly above open food that could fall or shed. Keep candles, electrical cords, and breakable objects away from the serving route, especially when children are moving around the table.
How can labels make the display both useful and decorative?
Labels are small details with a real purpose. They help guests identify what is being served, reduce repeated questions, and give the table a finished look. Use a legible typeface and strong contrast between the lettering and background. A decorative script can look charming, but it should not be so ornate that guests have to lean in to read it. Place each label beside the item it describes, not several inches away or behind another dish.
Write only what guests need to know. A short flavor or item name is easier to scan than a paragraph. If there is information you need to share about ingredients or dietary needs, provide it accurately and clearly; do not guess at ingredients or make health claims. For a gathering with several options, align the labels in one row or use matching tent cards so the choices feel organized.
Make labels sturdy enough to stay upright, but keep them outside the food. Folded cardstock, reusable holders, or small stands are practical options. If your display includes more than one serving area, repeat the label style so guests recognize the system. Keep a few blank cards and a pen nearby in case the plan changes before serving.
How do you make the guest flow feel effortless?
Before decorating, picture a guest arriving with a plate in hand. Where do they approach the table? Can they tell where the line begins? Is there a clear place to pause without blocking the doorway? A good layout answers these questions without needing a host to direct every person. Leave walking space around the table and avoid putting a chair, gift pile, or photo prop in the natural path.
If the room is narrow, place the serving table against a wall and guide guests along one side. If it is wider, allow people to approach from both ends only if that will not create a bottleneck. Keep the plate pickup point visible and put napkins where guests can grab them without crossing back through the line. For a larger group, consider staggering when people are invited to serve themselves rather than decorating the path with extra signs. Check the route while carrying a plate-sized tray, not just while standing still. That quick test can reveal a chair that sticks out, a sharp turn that is hard to make, or a place where two guests would meet face to face. Move the table or furniture before adding directional signs. If you do need a sign, make it short and put it where people naturally decide which way to go.
Think about where conversation will happen after guests have been served. Keep the seating area separate from the point where people pick up their dishes, and avoid placing a decorative photo corner between the serving table and the seats. Guests should not need to cross the line again just to find a place to sit. In a small room, leave a clear edge of the table for a guest to step aside briefly without holding up the next person. These small choices make a setup feel calm even when several people arrive at once.
Think about height and reach as well as traffic. Keep frequently used items within easy reach, with no decor that forces guests to stretch over food. Make the route workable for children and adults, and leave open floor space for anyone using a mobility aid. Place trash and recycling bins where they are easy to find but not the first thing guests see when they enter. A small, clear sign can help people return disposable items without interrupting the flow.
A location-based celebration can use a different room arrangement than a home gathering. If you are planning around a Pecan Jacks store, check the relevant locations page for store information and contact the business with questions about what is available. Do not assume that a particular room, event package, or decoration service is offered unless it has been confirmed.
What decorations create memorable photos without clutter?
Choose one photo-friendly area instead of turning the whole room into a backdrop. A simple wall behind the dessert table can work, or you can set up a separate corner with a garland and a few coordinated props. If you want a theme that feels connected to the host, take a cue from the story and setting described on the Pecan Jacks family story page, then translate one detail into a restrained color or accent rather than trying to recreate the whole brand display. This is an optional idea for a gathering featuring Pecan Jacks; a general ice cream party can use the same approach with its own colors or a personal detail from the guest of honor. Keep the setup far enough from the serving line that people taking pictures do not block guests. A clear background, good natural light, and a little space to step back often matter more than a large number of decorations.
Use props that are easy to hold and put down. Small paper signs, a bright napkin, or a reusable frame can add a playful touch without filling the table. Avoid props that resemble food or could be mistaken for a serving item. If children will be at the party, keep small pieces and anything fragile out of reach. When taking a group photo, ask guests to move away from the food table so the serving area remains neat.
Take a quick photo of the setup before the party starts. It gives you a record of how everything looked and helps identify clutter that is hard to notice while arranging the table. Check that labels face the camera and that the strongest color accents do not hide the choices. You can also make a few small adjustments before guests arrive rather than trying to rearrange decor once serving begins.
How can you keep decorations practical for outdoor parties?
Outdoor gatherings add sun, wind, and changing temperatures to the planning. Choose a shaded spot for the serving table when possible, and keep decorations secured so they do not blow into food or walkways. Avoid lightweight centerpieces that can tip over. Use weighted holders or attach paper garlands at several points. Put spare napkins and labels in a covered container until they are needed.
Make the table surface easy to clean, and keep a small supply of towels or wipes close by. Use materials that can tolerate a little moisture, and avoid placing paper decor where condensation or splashes will reach it. If the weather changes, have a simple plan for moving the party inside or taking down loose decorations quickly. Keep cords, stakes, and other trip hazards out of guest paths.
For gatherings near the coast or in a breezy yard, less is often more. A few well-secured decorations can hold their shape better than a crowded arrangement of light pieces. Keep the serving area compact and the route clear so guests can move between the table and seating without carrying dishes through a decorated obstacle course.
What is a simple setup plan from start to finish?
A short setup sequence helps keep decoration time focused. First, choose the location and check the walking route. Next, decide on your colors and place the table covering. Then arrange the serving items and labels, adding decorative pieces only after the practical layout works. Finish by viewing the table from the guest’s approach and removing anything that blocks access.
Keep the table plan proportional to the gathering. A small family celebration may need only a runner, labels, and a wall accent. A larger gathering may benefit from two clearly separated pickup points or a designated place for used dishes. Do not add extra stations simply to fill space; each one should solve a real flow problem.
How should you plan for cleanup before guests arrive?
Cleanup is easier when the setup includes a place for used dishes and waste from the beginning. Put a bin or bus tub where guests can find it without walking through the serving line. If you are separating recycling, label the bins simply and place them together. Keep the bins out of the main photo area, but do not hide them so well that guests cannot tell where items belong.
Choose reusable decorations when they suit the gathering and can be stored safely. Paper pieces can be attractive, but make a plan for collecting them before they blow away or get mixed in with food waste. Pack away items in groups—table accents together, labels together, and wall decorations together—so the next celebration is easier to set up. A small container for tape, clips, and scissors saves time during both setup and takedown.
Leave a little open table space for last-minute needs rather than decorating every inch. That space can hold a clean stack of napkins, a replacement label, or a dish that needs to be moved. A party setup works best when the host can adjust it quickly without dismantling the whole display.
Frequently asked questions about ice cream party decorations
How many colors should I use?
Choose two or three main colors and repeat them across a few elements. That gives the table a clear theme while leaving the labels and serving items easy to see. Add a small accent color only if the overall look still feels calm and readable.
What should go on the dessert table besides the food?
Keep it to essentials that help guests serve themselves, such as clear labels, napkins, and the utensils needed for the items being offered. A small decorative accent can sit behind or beside the serving area. Leave enough open room for dishes and hands, and avoid placing decorations where they may fall into food.
How can I decorate a small space?
Use the wall behind the table for the main visual detail, such as a short garland or sign, and keep the tabletop compact. Put extra supplies on a nearby counter rather than crowding the serving surface. A clear one-way route and readable labels will make a small setup feel more comfortable.
How do I keep the setup from looking cluttered?
Use one focal point, repeat a small color palette, and remove anything that does not improve the look or help guests. Check the display from the entrance and from the serving position. If labels compete with decorations or guests need to move objects to reach the food, simplify the arrangement.
How can you bring the setup together?
Start with the route guests will take, then build a simple visual theme around a useful serving table. A coordinated palette, easy-to-read labels, a single focal point, and a cleanup plan can make ice cream party decorations feel thoughtful without adding unnecessary work. Keep the setup welcoming, leave the serving space clear, and enjoy the celebration with your guests.