How to Make Strawberry Ice Cream From Scratch

Cory Mosley is the Vice President of Growth for Pecan Jacks. He supports franchise growth and brand strategy while helping protect the quality behind every scoop, bringing “A Sweet Day Is A Bite Away®” philosophy to customers across the country.
The story of strawberry ice cream begins long before modern freezers. The first recorded mention dates back to 1744, when a Maryland governor served a dessert of frozen strawberries and ice to his guests. It really hit the big time when First Lady Dolley Madison served a magnificent strawberry creation at an inaugural ball, giving the dessert a major status boost. It became a symbol of sophisticated taste before eventually becoming a fixture in ice cream parlors across the country. This journey from exclusive parties to family dessert tables is a sweet piece of American history. Making your own homemade strawberry ice cream is more than just following a recipe; it’s about connecting with a tradition of simple, quality ingredients and a little creativity.
Ready to take your first sweet bite?
Key Takeaways
- Cook Your Strawberries for Better Flavor: To avoid an icy texture and get a truly rich strawberry taste, don't add raw berries to your base. Macerating them in sugar and then gently cooking them concentrates their flavor and removes excess water, which is the secret to a creamy finish.
- Don't Skimp on the Fat: For a truly creamy texture, using full-fat dairy like heavy cream and whole milk is essential. The fat is what prevents large, crunchy ice crystals from forming, so stick with the good stuff for a smooth, scoopable result.
- Master the No-Churn Method: You don't need a special machine to make great ice cream. The easiest method involves folding freshly whipped cream into a base of sweetened condensed milk and your strawberry puree, which creates a surprisingly smooth texture after freezing.
Why Is Strawberry Ice Cream So Beloved?
There’s something universally comforting about a scoop of strawberry ice cream. Its sweet, fruity flavor and cheerful pink hue bring back memories of sunny days and simple pleasures. It’s a flavor that feels both nostalgic and timeless, earning its spot as a cornerstone of classic desserts. In fact, strawberry is one of the three iconic flavors in Neapolitan ice cream, sharing the carton with vanilla and chocolate for a reason: it’s a crowd-pleaser.
But what makes a truly great strawberry ice cream isn’t just the flavor, it’s the texture and the use of real, quality fruit. The difference between an artificial-tasting, icy dessert and a creamy, bursting-with-flavor scoop comes down to technique. At Pecan Jacks, we believe in using the best ingredients and time-honored methods to create our artisan ice cream, and the same principles apply when you’re making it at home. Getting that perfect strawberry flavor involves more than just stirring some berries into a cream base. It’s about choosing the right fruit, preparing it properly, and understanding how to concentrate its natural sweetness. Let’s walk through the simple but crucial steps that will make your homemade strawberry ice cream unforgettable.
Fresh vs. Frozen Strawberries: Which Wins?
When it comes to making the best strawberry ice cream, fresh, ripe strawberries are the gold standard. If you can get your hands on in-season berries that are fragrant and red all the way through, you’re already halfway to a delicious result. Their natural sweetness and lower water content create a more intense flavor. However, don’t feel like you have to wait for summer to make this treat. High-quality frozen strawberries are an excellent alternative. They are picked and frozen at peak ripeness, so they often have a deeper, more concentrated flavor than out-of-season fresh berries you might find at the store. The key is to let them thaw completely before you start so you can prepare them properly for the ice cream base.
How to Macerate Strawberries for Maximum Flavor
Macerating is a simple technique that makes a huge difference in your ice cream’s flavor. It sounds fancy, but it just means letting your chopped strawberries sit in sugar for a little while. After hulling and dicing your berries, toss them in a bowl with a bit of sugar (and a squeeze of lemon juice, if you like) and let them rest for about 15 to 20 minutes. During this time, the sugar draws out the natural juices from the fruit, creating a beautiful, syrupy liquid. This process softens the berries and creates a rich, natural strawberry syrup that will infuse your entire ice cream base with authentic fruit flavor, far better than any artificial flavoring ever could.
Why Cooking Your Strawberries Is a Game-Changer
This step is the secret to avoiding a common homemade ice cream problem: iciness. Strawberries have a high water content, and if you add them raw to your ice cream base, that excess water will turn into ice crystals in the freezer. The result is a crunchy, icy texture instead of a smooth, creamy one. To prevent this, gently cook your macerated strawberries on the stove until they soften and the liquid thickens slightly. This cooks off some of the water and concentrates the flavor even more. For the perfect texture, you can blend about half of the cooked strawberry mixture until smooth and leave the other half chunky. Let it cool completely before adding it to your ice cream base for a creamy, dreamy final product.
The Sweet History of Strawberry Ice Cream
Strawberry ice cream feels like such a timeless, classic treat, doesn't it? It’s the flavor many of us grew up with, a scoop of pure, simple happiness. But this beloved dessert has a surprisingly long and fascinating story. Long before it became a staple in freezers and scoop shops like ours, it was a rare delicacy enjoyed by society's elite. Its journey from exclusive parties to family dessert tables is a sweet piece of American history, filled with innovative cooks and even a few First Ladies. It’s a great reminder that the best things often start with simple, quality ingredients and a little creativity.
From the White House to Your House
The story of strawberry ice cream begins long before modern freezers. The first recorded mention dates all the way back to 1744, when Maryland's governor, Thomas Bladen, served a dessert made of frozen strawberries and ice to his guests. It was a simple concept, but it laid the groundwork for the creamy treat we know today. As time went on, creative cooks continued to refine the recipe. In the early 1800s, a freed slave named Sallie Shadd, who ran a popular tearoom, was known for using fresh berries to both flavor and color her frozen dairy desserts, helping to shape the history of ice cream in America.
How It Became an American Classic
Strawberry ice cream really hit the big time when it made its way to the White House. In 1813, First Lady Dolley Madison served a magnificent strawberry ice cream creation at her husband's second inaugural ball. This single event gave the dessert a major status boost, making it the talk of the town and a symbol of sophisticated taste. A few decades later, Mary Todd Lincoln continued the tradition by hosting "Strawberry Parties," where the sweet, pink ice cream was the star of the show. By the 1900s, it was no longer just for presidents and parties. Strawberry ice cream became a fixture in ice cream parlors across the country, solidifying its role as a true American classic that Dolley Madison helped popularize.
What You'll Need for the Creamiest Homemade Ice Cream
The secret to incredibly smooth, rich ice cream isn't just a fancy machine; it's all about the ingredients. The difference between a grainy, icy dessert and a luxuriously creamy one comes down to a little bit of kitchen science. At Pecan Jacks, we've spent years perfecting our recipes, and we know that starting with the right foundation is everything. Using high-quality, full-fat ingredients is the first step toward creating a scoop that rivals what you’d find in our artisan ice cream shop. We believe everyone deserves to experience the joy of truly great ice cream, whether it's from our kitchen or yours.
Think of your ice cream base as the canvas for your strawberry masterpiece. Each component has a specific job, from adding richness to preventing ice crystals from forming. Getting these elements right will give you that signature melt-in-your-mouth texture we all crave. It's less about complicated techniques and more about understanding what each ingredient brings to the party. When you choose the right dairy, sweeteners, and enhancers, you're setting yourself up for success before you even start churning. Below, we’ll walk through the key players that will help you achieve the creamiest possible results at home, turning your kitchen into your very own creamery.
Why Full-Fat Dairy Is a Must
This is the number one rule for creamy ice cream: don't skimp on the fat. While it might be tempting to reach for skim milk or half-and-half to make a "lighter" version, you'll likely end up with an icy, hard-to-scoop dessert. Full-fat dairy, like whole milk and heavy whipping cream, is essential. The fat molecules in the cream interfere with water molecules, which helps prevent large ice crystals from forming as the mixture freezes. This is what gives ice cream its smooth, dense, and satisfying texture. So, for this recipe, treat yourself and go for the good stuff. Your taste buds will thank you.
The Power of Egg Yolks and Condensed Milk
For an even richer and more custard-like base, egg yolks are a fantastic addition. They act as a natural stabilizer, helping to bind the fat and water together for an exceptionally smooth consistency. This method, often used in French-style ice cream, creates a velvety texture that feels truly decadent. If you're looking for a simpler, no-cook alternative, sweetened condensed milk is your best friend. It provides sugar, milk, and solids all in one, creating a thick base that's perfect for no-churn recipes. It’s a brilliant shortcut that delivers creamy results with minimal effort.
Sweeteners, Enhancers, and Other Secret Weapons
Beyond the dairy, a few other ingredients can make a huge difference. Sugar does more than just sweeten your ice cream; it also lowers the freezing point of the mixture, which keeps it softer and easier to scoop. For an extra creamy boost, try adding a tablespoon of refined coconut oil. Make sure it's "refined" so it doesn't add any coconut flavor. This little trick adds fat and creates an even silkier texture. Finally, don't forget a pinch of salt and a splash of vanilla extract. Salt brings out the sweetness of the strawberries, while vanilla adds a layer of aromatic depth that complements the fruit beautifully.
Our Go-To Homemade Strawberry Ice Cream Recipe
There’s something truly special about a scoop of homemade strawberry ice cream. It tastes like sunshine and sweet memories all rolled into one. While we pour our hearts into crafting every batch of our artisan ice cream here at Pecan Jacks, we also believe in the joy of making things yourself. Sharing food is a love language, and this recipe is our way of sharing a little piece of our kitchen with yours. It’s a classic for a reason, and we’ve tweaked it over the years to get it just right.
This recipe is straightforward and focuses on what matters most: incredible flavor from simple, high-quality ingredients. It’s about capturing the essence of perfectly ripe strawberries in a rich, creamy base. Think of it as a foundation for creating your own sweet traditions. Whether you’re making it for a family gathering or just a quiet night in, the process is almost as rewarding as the first bite. This is more than just a dessert; it’s an experience that brings people together, which is a huge part of our family’s story.
Ingredients
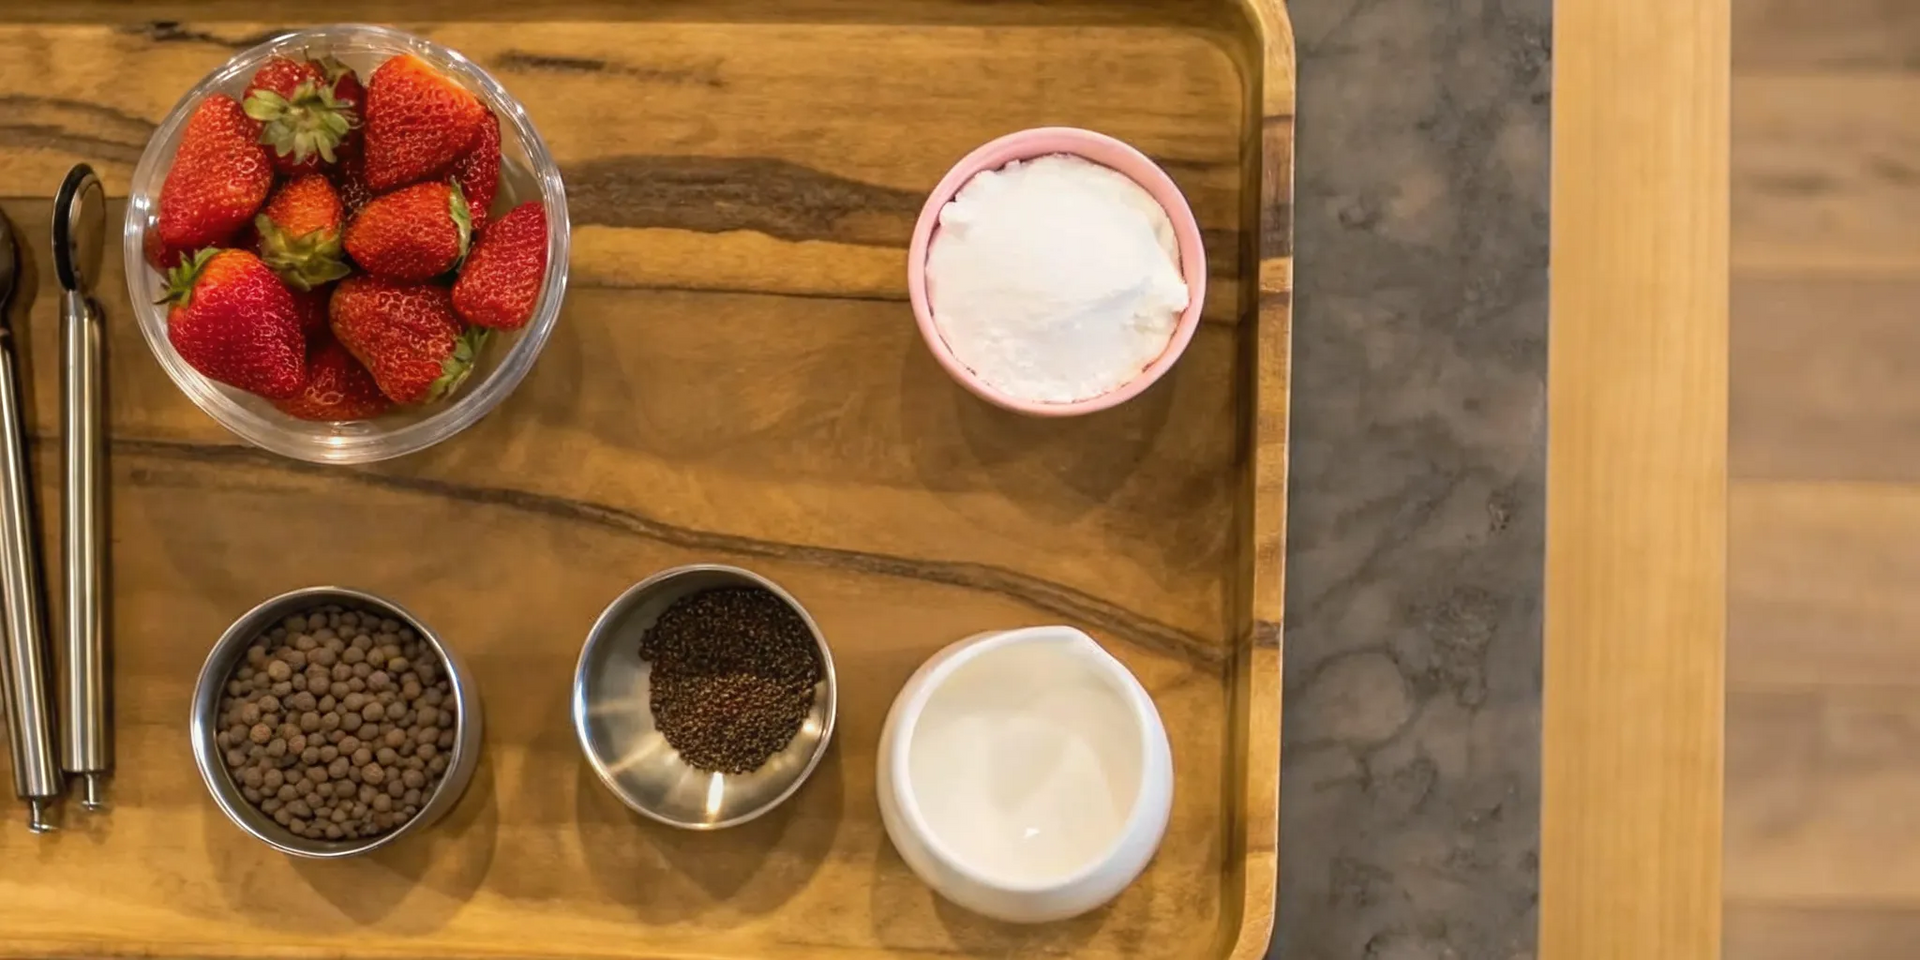
To create a truly delicious strawberry ice cream, you need ingredients that can shine. The key is to use fresh, full-fat components to get that signature creamy texture and rich flavor. Low-fat substitutes will unfortunately lead to an icy, less satisfying result. Here’s what you’ll need to get started:
- Fresh strawberries: The star of the show.
- Heavy whipping cream: This provides the rich, luxurious mouthfeel.
- Half-and-half: Balances the heavy cream for the perfect consistency.
- Granulated sugar: For classic sweetness.
- Honey or light corn syrup: A touch of this helps keep the ice cream smooth and scoopable.
- Fresh lemon juice: Just a squeeze brightens the strawberry flavor.
- Vanilla extract: Adds a layer of aromatic warmth.
- A pinch of salt: Enhances all the other flavors.
Step-by-Step Instructions
Making ice cream is a simple process of chilling and churning. The magic happens when you give your ingredients time to meld together. Follow these steps for a perfect batch every time.
- Prepare the strawberries: Hull and chop your strawberries. In a bowl, gently mix them with the sugar, honey, and lemon juice. Let this mixture sit for about 20 minutes to draw out the natural juices.
- Create the base: Mash the strawberries to your desired consistency. For a smoother ice cream, use a blender; for a chunkier texture, a potato masher works great.
- Combine everything: In a large bowl, whisk the strawberry mixture with the heavy cream, half-and-half, and vanilla extract until it’s all combined.
- Churn: Pour your base into an ice cream maker and churn according to the manufacturer’s directions, usually for about 15 to 20 minutes.
- Freeze: The ice cream will have a soft-serve consistency at this point. For a firmer texture, transfer it to an airtight container and freeze for at least four hours.
Tips for a Perfectly Creamy Texture
The difference between good and great homemade ice cream often comes down to a few small details. An icy texture is the most common frustration, but it’s easy to avoid. Here are a few secrets we’ve learned over the years to guarantee a smooth, creamy scoop every single time.
- Use full-fat dairy: This is the most important rule. The fat in heavy cream and whole milk is essential for preventing large ice crystals from forming.
- Don’t skip the sugar: Sugar does more than sweeten; it lowers the freezing point of the mixture, which helps maintain a softer, creamier texture.
- Add egg yolks: For an even richer, custardy base, you can create a cooked custard with tempered egg yolks. This adds stability and an incredibly smooth finish.
- Chill everything: Make sure your ice cream base is thoroughly chilled in the refrigerator (at least four hours) before churning. A cold base churns faster and freezes more evenly.
How to Make Strawberry Ice Cream Without an Ice Cream Maker
So, you’re craving rich, creamy, homemade strawberry ice cream but don’t have an ice cream maker? Don’t worry, you’re not out of luck. Some of the best ice cream can be made with just a few simple tools you already have in your kitchen. The secret is creating a base that resists ice crystals and freezes into a perfectly scoopable texture, no special equipment required. The goal is to incorporate air and keep the ice crystals small, which is exactly what an ice cream maker does automatically. We can achieve a similar effect with a little patience and the right technique.
At Pecan Jacks, we’re all about using quality ingredients and time-tested methods to create our handcrafted gourmet ice cream, and you can apply that same spirit at home. Whether you use a blender or just a bowl and a whisk, these methods will get you incredibly close to that classic churned texture. It just takes a little kitchen creativity. Let’s walk through a few of my favorite ways to make delicious strawberry ice cream without a machine.
The No-Churn Method
This is probably the most popular and foolproof way to make ice cream without a machine. The magic lies in two key ingredients: sweetened condensed milk and heavy whipping cream. The condensed milk provides the sweetness and creamy base, while the whipped cream adds air and lightness, mimicking the effect of churning. You simply whip the cream to stiff peaks, fold it into your strawberry and condensed milk mixture, and freeze. It’s a straightforward process that delivers a surprisingly smooth result. This easy strawberry ice cream recipe is a perfect example, as it "doesn't require an ice cream maker, eggs, or special techniques or equipment!" It’s a fantastic starting point for any beginner.
The Blender Method
If you have a high-powered blender, you can achieve a wonderfully smooth texture. This method often involves blending frozen strawberries with your dairy base until it’s completely smooth. For an even creamier finish, you can prepare your strawberry base separately, chill it, and then gently fold in freshly whipped cream until it’s all one beautiful, fluffy mixture. Once combined, you just need to pour it into a freezer-safe container, cover it, and let it set. This technique is great for incorporating the fruit seamlessly into the base, ensuring you get that rich strawberry flavor in every single bite.
The Freezer-Stir Method
This technique is a bit more hands-on, but it’s a classic for a reason. It works with almost any ice cream base, including traditional custard-style recipes. The idea is to manually break up ice crystals as the ice cream freezes. You pour your chilled ice cream base into a shallow, freezer-safe dish and place it in the freezer. Every 30 to 45 minutes, you take it out and stir it vigorously with a whisk or a fork, breaking up any frozen bits and making it smooth. You repeat this process for a few hours until it’s firm but scoopable. It takes patience, but the result is a super creamy texture that’s well worth the effort.
Tips for No-Churn Success
No matter which method you choose, a few simple tips can make a huge difference. First, always start with cold ingredients. Your heavy cream will whip up much better if it’s thoroughly chilled, and a cold base will freeze faster and more evenly. When you’re ready to freeze, use a shallow container, like a loaf pan or a brownie pan. This increases the surface area and helps the ice cream freeze quickly, which is key to preventing large ice crystals. Before you even start, pop your empty container in the freezer to get it ice-cold. Finally, be sure to chill the strawberry custard mixture completely before folding in your whipped cream or starting the freezing process.
Solving the Icy Homemade Ice Cream Problem
There’s nothing more disappointing than pulling your homemade ice cream from the freezer only to find it’s a block of ice crystals. We’ve all been there. The good news is that a creamy, dreamy texture is totally achievable. The secret lies in understanding what causes those pesky ice crystals in the first place and knowing how to prevent them during the making and storing process. With a few simple adjustments, you can ensure every scoop is as smooth as the last.
What Causes Ice Crystals?
The goal of making ice cream is to create many tiny ice crystals, not a few large ones. Big, crunchy crystals are what give ice cream that dreaded icy texture. This usually happens for a few key reasons. First, the fat and sugar content might be too low. Fat coats the ice crystals and keeps them small, which is why using lower-fat milk can lead to an icier result. Second, the mixture may not have been churned long enough. Churning breaks up ice crystals as they form and incorporates air, which is essential for a smooth finish. Finally, improper storage can ruin a perfectly good batch after the fact.
Common Mistakes and How to Avoid Them
If your strawberry ice cream turns out icy, it’s likely due to a few common slip-ups. One major culprit is not cooking the strawberries long enough, which leaves too much water in your base. Water is the enemy of creamy ice cream. Another frequent issue is swapping out full-fat dairy for lower-fat options. While it might seem like a healthier choice, using whole milk and heavy whipping cream is non-negotiable for that classic, rich texture. You can also get an icy result if you don’t churn the ice cream long enough, so be sure to follow your machine’s instructions until the mixture is thick and frozen.
How to Store Your Ice Cream for Lasting Creaminess
How you store your ice cream is just as important as how you make it. To protect your hard work, transfer the finished ice cream into a shallow, airtight container. Press a piece of plastic wrap or wax paper directly onto the surface of the ice cream before sealing the lid. This extra layer prevents air from touching the surface, which helps stop ice crystals from forming. For even more protection, you can wrap the entire container in foil. Store it in the coldest part of your freezer (usually the back) for up to two weeks for the best flavor and texture.
Fun Strawberry Ice Cream Variations to Try
Once you’ve mastered the classic homemade strawberry ice cream, you can start having some real fun in the kitchen. The basic recipe is a perfect canvas for all sorts of delicious experiments. Think of it as your starting point for creating a signature flavor that’s all your own. From rich and decadent to fresh and herbaceous, there are so many ways to put a personal spin on this beloved treat. Let’s explore a few of my favorite variations to get your creative juices flowing.
Strawberry Cheesecake
If you love strawberry cheesecake, you are going to adore this ice cream. This variation combines the tangy, creamy goodness of cheesecake with the sweet, fruity pop of fresh strawberries. You can achieve this by swirling a rich cream cheese mixture into your strawberry ice cream base. For extra texture and that signature graham cracker crust flavor, try mixing in crushed graham crackers or shortbread cookies toward the end of the churning process. It’s like getting two incredible desserts in one perfect scoop.
Strawberry Basil and Strawberry Lavender
This might sound a little unusual, but trust me on this one. Adding fresh herbs is a fantastic way to introduce a sophisticated, aromatic twist to your strawberry ice cream. Basil brings a subtle, peppery sweetness that beautifully complements the strawberries, while lavender adds a delicate floral note that feels elegant and refreshing. You can infuse these flavors into your cream base by gently heating it with the herbs and letting it steep before you churn. It’s a simple step that creates a truly memorable, gourmet-style ice cream experience.
Dairy-Free and Vegan Options
No one should have to miss out on delicious homemade ice cream. Creating a creamy, dreamy dairy-free strawberry ice cream is easier than you think. Simply swap the heavy cream and milk for full-fat coconut cream or a blend of coconut and almond milk. To get that rich sweetness without dairy, sweetened condensed coconut milk works wonders. This version is perfect for friends and family who are vegan or have a lactose intolerance, ensuring everyone can enjoy a scoop of homemade happiness.
Get Creative with Mix-Ins and Toppings
This is where you can really let your personality shine. Your pantry is a treasure trove of potential mix-ins that can add incredible flavor and texture. Think about folding in mini chocolate chips, crushed sandwich cookies, chopped nuts, or even chunks of white chocolate. You could also create a swirl using strawberry jam, balsamic glaze, or a rich chocolate fudge sauce. Don’t be afraid to get creative with your strawberry ice cream and see what amazing combinations you can come up with.
Homemade vs. Store-Bought: What's the Difference?
Let’s be real, sometimes grabbing a pint of strawberry ice cream from the grocery store freezer is the easiest option. But when you have a little time, making it at home is a completely different experience. The biggest difference between homemade and store-bought comes down to one thing: the ingredients. When you make it yourself, you control what goes in. You can use the freshest, juiciest strawberries at their peak, which gives your ice cream a vibrant, authentic flavor that’s hard to replicate. A great homemade recipe always puts fresh fruit front and center, resulting in that creamy, dreamy texture we all crave.
Many mass-produced ice creams rely on strawberry-flavored syrups, artificial flavors, and preservatives to achieve their taste and shelf stability. While not all store-bought options are created equal, the homemade version almost always wins on pure, unadulterated flavor. Plus, there’s a special kind of satisfaction that comes from churning your own batch. It’s a process rooted in care, much like the way we craft our own gourmet ice cream flavors. It’s less about convenience and more about creating a truly memorable treat from scratch, knowing exactly what you and your family are enjoying.
The Artisan Difference
So, where does artisan ice cream fit in? Think of it as the bridge between homemade and typical store-bought. Artisan ice cream, like the kind we proudly make at Pecan Jacks, is all about craftsmanship. It’s typically made in small batches using high-quality, often local, ingredients. This approach allows for a focus on creating rich textures and unique flavors you won’t find in mass-produced pints. It’s a philosophy that celebrates the ingredients and the process. This dedication to quality means you get a scoop that’s bursting with real flavor, not just sweetness. For us, being an artisan ice creamery means honoring tradition while playing with new ideas, ensuring every bite is as delicious as the last.
What to Look for When Buying Ice Cream
If you’re going the store-bought route, you can still find some fantastic options if you know what to look for. The first step is to become an ingredient list detective. For the best flavor, you’ll want to see real strawberries or strawberry puree listed near the top. According to food experts, a high-quality ice cream will always prioritize real fruit over artificial flavoring. Be wary of brands with a long list of stabilizers, gums, and artificial colors. While some of these are necessary for texture and shelf life, a shorter, more recognizable ingredient list is usually a sign of a better product. Finally, trust your taste buds. A truly great strawberry ice cream will have a creamy, not icy, texture and a flavor that tastes like actual strawberries, not candy.
How to Serve and Pair Your Strawberry Ice Cream
You’ve put in the effort to make the creamiest, most flavorful strawberry ice cream from scratch. Now comes the really fun part: serving it up. While a spoon straight from the container is always a valid choice (we’ve all been there), the right presentation or pairing can turn your homemade treat into a truly memorable dessert. Whether you’re a fan of timeless classics or you like to experiment with bold new flavors, there are so many ways to enjoy your creation. Let’s get into some of our favorite ways to serve and pair strawberry ice cream.
At Pecan Jacks, we believe that a great dessert is all about quality and creativity, from our handcrafted ice cream to the way it’s enjoyed. Your homemade strawberry ice cream deserves the same thoughtful treatment.
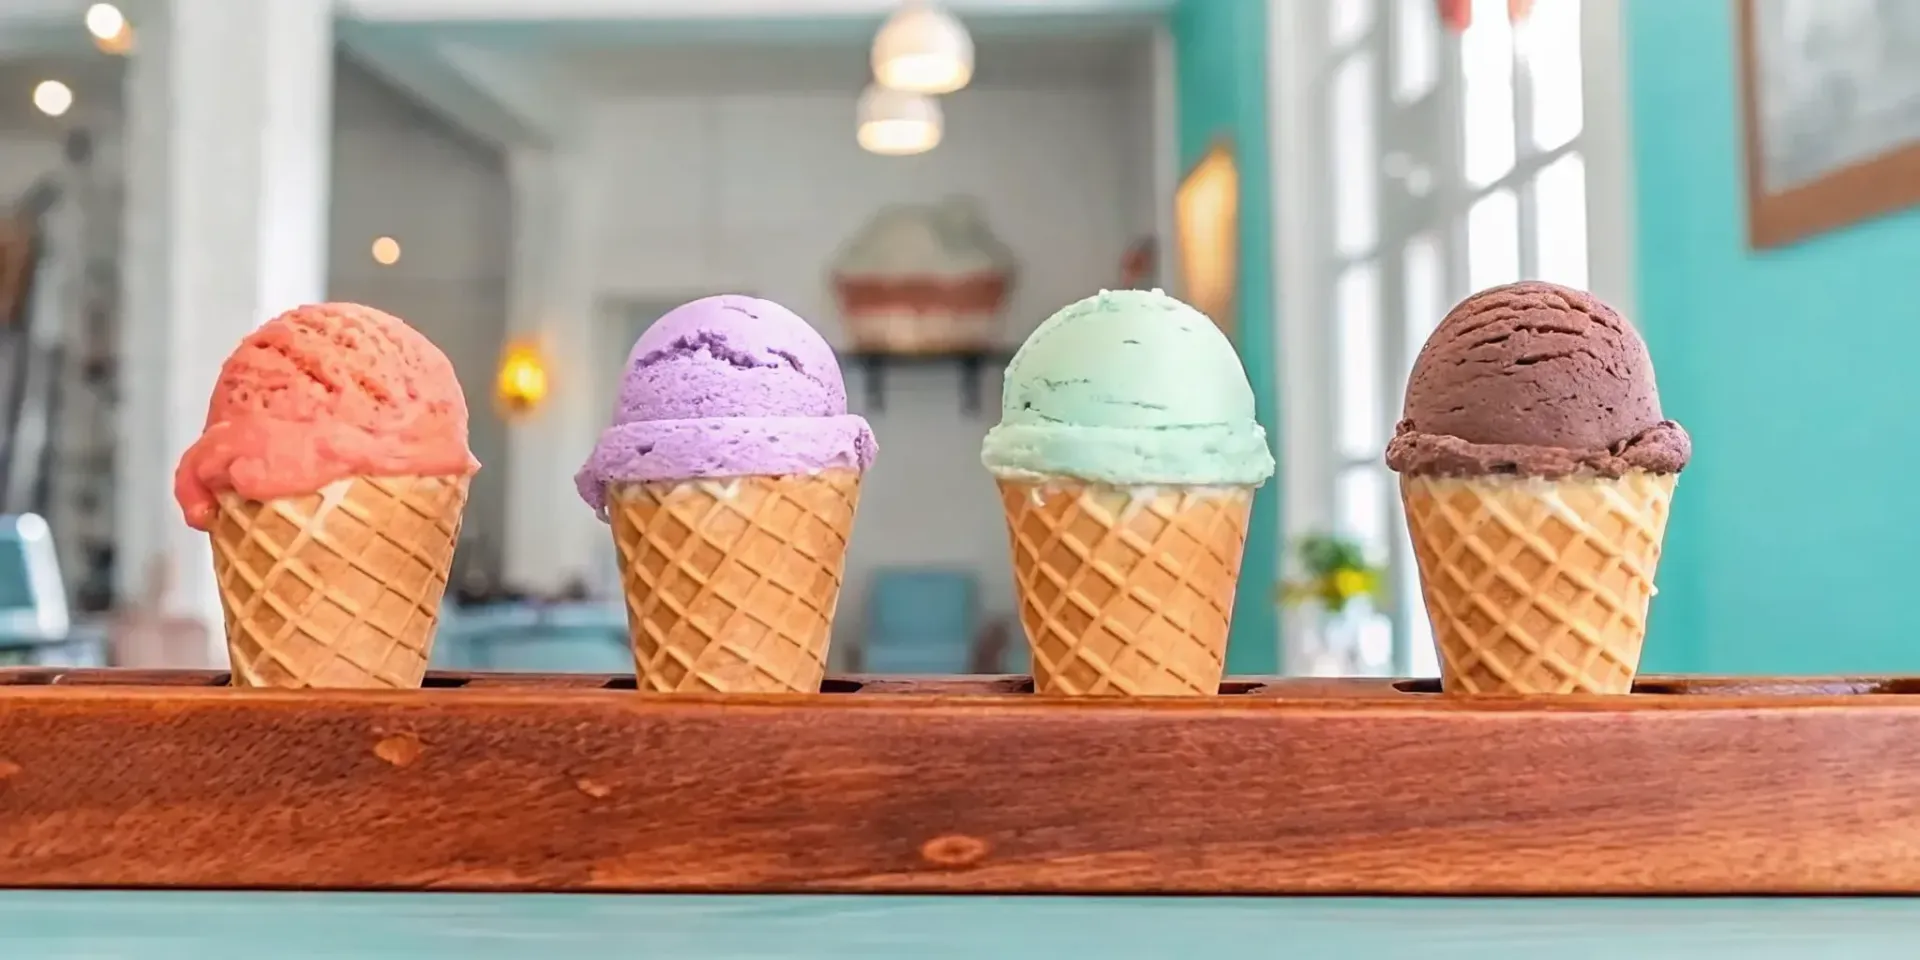
Classic Cones and Sundaes
There’s a reason the classics never go out of style. Serving your homemade strawberry ice cream in a crispy waffle cone is a simple pleasure that’s hard to beat. It’s also a star player in a sundae. As one of the three core flavors in classic Neapolitan ice cream, strawberry plays beautifully with both chocolate and vanilla. For an amazing sundae, start with a generous scoop (or two) and add toppings like fluffy whipped cream, a handful of fresh, sliced strawberries, and a drizzle of rich chocolate or hot fudge sauce. It’s a perfect, nostalgic treat for any occasion.
Surprising (and Delicious) Pairings
Ready to think outside the cone? Strawberry’s sweet and slightly tart profile makes it a fantastic partner for some unexpected flavors. For a comforting dessert, try a scoop alongside a warm slice of strawberry rhubarb pie; the combination is absolutely heavenly. You can also blend it into a thick, refreshing milkshake. If you’re feeling a bit more adventurous, create unique flavor combinations by pairing your ice cream with savory ingredients. A drizzle of balsamic reduction adds a tangy depth that cuts through the creaminess, while a few fresh basil leaves can introduce a surprising, peppery-sweet herbal note. Don't be afraid to experiment.
Related Articles
- How to Make Almond Ice Cream From Scratch
- The 4 Best Liquor Infused Ice Cream Brands to Try
- What Is a Tipsy Scoop? Everything to Know
- Who Makes Key Lime Ice Cream? 8 Brands to Know
- Pecan Jacks Ice Cream News: Expansions, Awards & More
Ready to take your first sweet bite?
Frequently Asked Questions
Do I really have to cook the strawberries first? I know it feels like an extra step, but this is the secret to getting that perfectly creamy texture. Raw strawberries contain a lot of water, and that water turns into crunchy ice crystals in the freezer. Gently cooking your berries first cooks off some of that excess water and concentrates their natural flavor, which means your final product will be smoother, creamier, and taste more like strawberries.
My ice cream is still soft after churning. What went wrong? You probably didn't do anything wrong at all. This is a completely normal and expected part of the process. An ice cream maker’s job is to churn and chill the base until it reaches the consistency of soft-serve. For that firm, scoopable texture you get at an ice cream shop, you need to transfer it to an airtight container and let it freeze for at least four hours. This "ripening" stage is what allows it to set properly.
Can I use this recipe with other types of berries? Absolutely. This recipe works beautifully as a base for other fruits. Raspberries, blackberries, or even a mix of your favorite berries would be delicious. Just keep in mind that some fruits, like raspberries and blackberries, have a lot of seeds. For a perfectly smooth texture, you might want to strain the cooked fruit mixture through a fine-mesh sieve before adding it to your cream base.
What is the biggest mistake to avoid when making no-churn ice cream? The most common slip-up with no-churn recipes involves the whipped cream. For this method to work, you need to whip your cold heavy cream until it forms stiff peaks. This incorporates the air that a traditional churner would. The second part of the mistake is being too aggressive when combining it with the other ingredients. You have to gently fold the whipped cream into your strawberry base to keep all that air you just created, which is what gives the ice cream its light, scoopable texture.
How long will my homemade ice cream stay fresh? For the best flavor and texture, you should plan to enjoy your homemade ice cream within two weeks. Unlike store-bought versions, your creation doesn't have commercial stabilizers and preservatives. After a couple of weeks in the freezer, you might notice the texture starting to get a little icy. Storing it in a shallow, airtight container with plastic wrap pressed directly on the surface will help keep it creamy for as long as possible.