Celebrate Sweet Success – Pecan Jacks Expands to Grayton Beach, Florida
Santa Rosa Beach, FL —July 7th, 2025
— Pecan Jacks, the beloved Southern-inspired ice cream and candy store known for its handcrafted gourmet confections and bold flavors, is thrilled to announce the opening of its newest franchise location in Grayton Beach Village.
This marks the fourth Pecan Jacks location and reflects the brand’s rapid national expansion as a destination for premium sweets and smiles.
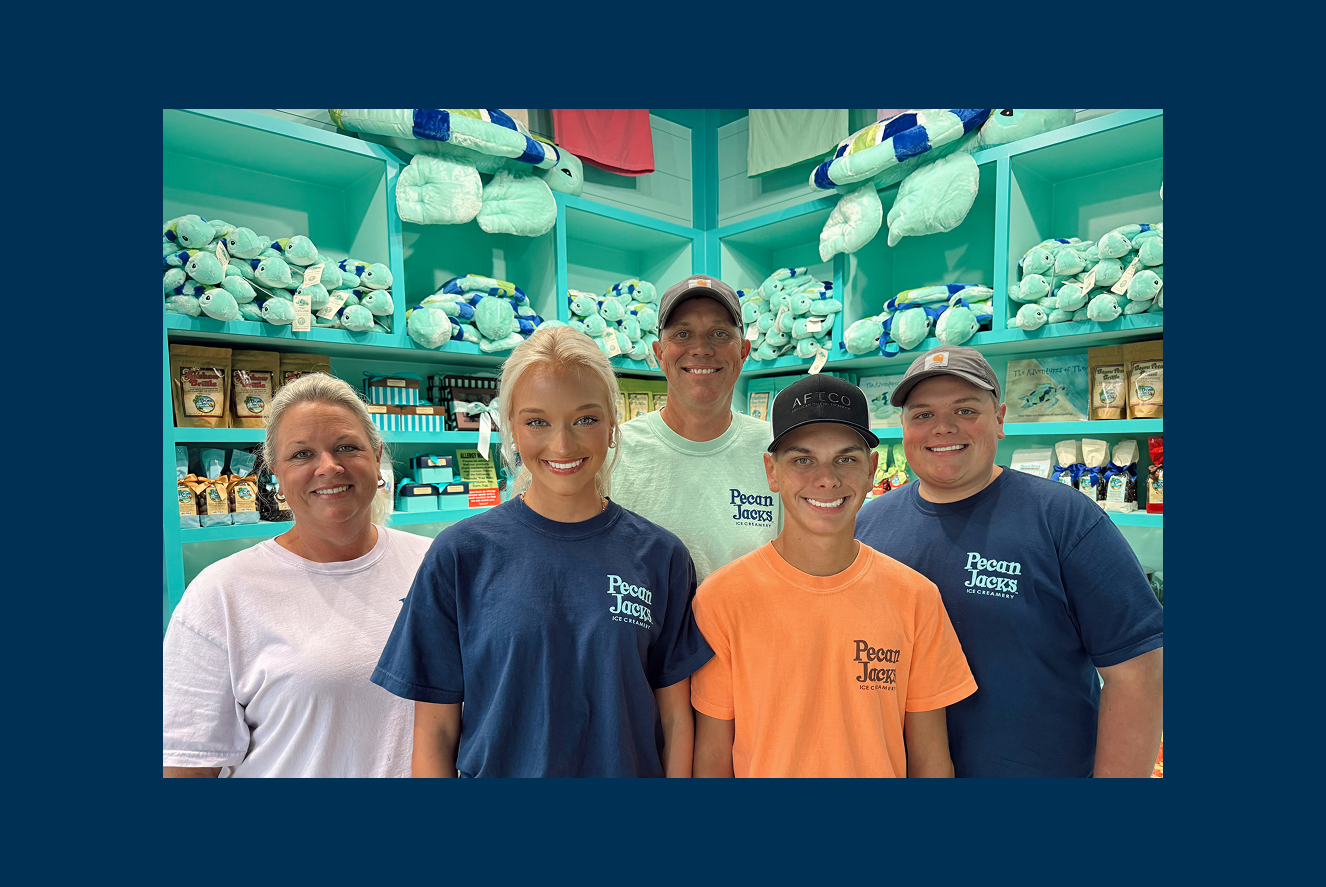
The location will be owned and operated by the Beeler family, a family of passionate and experienced entrepreneurs and long-time fans of the brand who are excited to bring the Pecan Jacks experience to their local community.
The new location, located at 32 E County Hwy 30A, Unit 105, will offer Pecan Jacks signature ice cream, gourmet brittles, saltwater taffy, chocolate-covered treats, and more—all made with the same dedication to quality and creativity that has made the brand a favorite across the country.
“Each new location is more than just a store—it’s a celebration of community and creativity,” said Veronica “Ronnie” Wyatt, Co-Founder of Pecan Jacks. “We’re proud to welcome the Beelers to the Pecan Jacks family and look forward to sharing our love of confections with the people of Grayton Beach.”
The grand opening is scheduled for
July 7th, featuring family-friendly fun, free samples, and special promotions.
For more information about the grand opening or to learn more about Pecan Jacks, visit pecanjacks.com
or follow us on Instagram @officialpecanjacks.